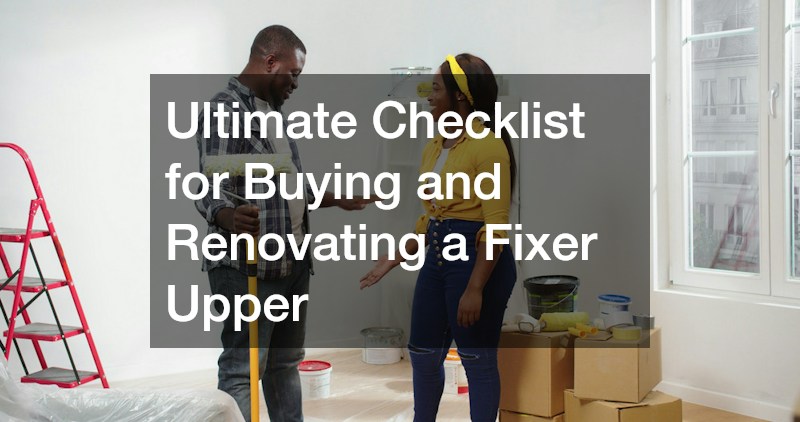
Ultimate Checklist for Buying and Renovating a Fixer-Upper
Transforming a distressed property into a custom dream home is one of the most rewarding journeys a homeowner can undertake. The prospect of buying at a discount, personalizing every square foot, and capturing substantial equity attracts thousands of buyers to the fixer-upper market each year. However, the line between a profitable dream project and a financial nightmare is notoriously thin. Unforeseen structural issues, hazardous materials, unbudgeted exterior overhauls, and poor construction sequencing can quickly drain reserves and turn an exciting project into an exhausting ordeal.
The key to navigating a major overhaul lies in meticulous planning and disciplined execution. Without a clear blueprint, it is easy to spend money on cosmetic finishes while ignoring critical underlying infrastructure. This comprehensive checklist provides a structured, step-by-step framework to guide you through every major phase of buying and renovating a fixer-upper, ensuring your investments yield maximum safety, efficiency, comfort, and resale value.
Phase 1: Pre-Purchase Inspection & Environmental Safety
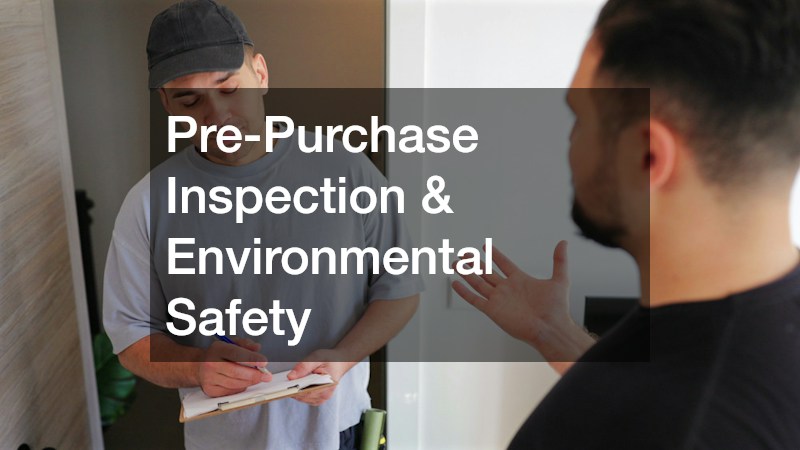
Before closing on a property or swinging a single sledgehammer, you must establish a clear understanding of the building’s structural integrity and environmental health. Older properties often conceal hazardous materials and hidden site risks that must be addressed before any interior remodeling or cosmetic work begins.
Conduct a Thorough Environmental and Hazard Assessment
Homes built prior to the late 1970s frequently contain building materials that pose serious health risks to occupants and construction crews when disturbed during demolition. A standard home inspection provides a high-level overview, but specialized testing is critical when dealing with distressed structures.
-
Identifying Legacy Toxins: Inspect all painted surfaces, window sills, trim, and older plumbing fixtures. Paint layers applied decades ago often deteriorate into toxic dust during sanding or wall removal.
-
Executing Safe Abatement: Remediating legacy hazardous materials requires containment barriers, HEPA air filtration, and specialized disposal protocols. Hiring certified specialists for lead removal ensures that toxic dust is safely eliminated before your interior framing or drywall work starts.
-
Perimeter Timber Inspections: Examine large trees surrounding the home. Decaying limbs, hollow trunks, or aggressive root systems can threaten the home’s foundation, sewer lines, roof structure, and overhead utility connections.
-
Mitigating Exterior Tree Risks: Overgrown or dying timber creates immediate storm hazards and blocks necessary sunlight needed to keep your roof dry. Partnering with professional tree services allows you to clear dangerous limbs, remove diseased trunks, and open up air clearance around the chimney and roofline.
-
Foundation & Moisture Audits: Check crawl spaces, basements, and slab edges for signs of settlement, hydrostatic pressure, or active water intrusion. Addressing perimeter drainage and foundation settling must occur before investing in new interior floors or finishes.
Phase 2: Weatherproofing & Envelope Restoration
Once structural hazards and environmental risks are fully mitigated, the next priority is sealing the building envelope. Applying high-end interior finishes inside a building shell that leaks air or water is a recipe for mold, rot, and ruined investment capital.
Seal the Building Shell Against Elements and Drafts
A secure, air-tight building envelope protects your framing from moisture damage while establishing a stable indoor climate that keeps long-term utility bills manageable.
-
Evaluating Thermal Barriers: Inspect the attic floor, exterior wall cavities, basements, and rim joists. Missing, settling, or water-damaged fiberglass batts allow heat to escape freely, creating uncomfortable drafts and skyrocketing seasonal energy bills.
-
Installing Modern Thermal Protection: Upgrading your home’s thermal barrier dramatically improves indoor comfort and HVAC performance. Contracting professional insulation services to spray closed-cell foam or blow dense cellulose into attics and wall cavities seals air gaps, dampens exterior noise, and creates an energy-efficient indoor climate.
-
Inspecting Exterior Siding and Masonry: Examine brickwork, stone veneer, wood siding, and vinyl cladding for heavy dirt accumulation, organic growth, moss, and weather staining.
-
Restoring Exterior Cladding: Decades of accumulated grime mask underlying siding damage and prevent proper paint adhesion. Utilizing high-pressure power washing strips away stubborn grime, mildew, and loose paint, leaving clean exterior surfaces ready for priming, painting, or siding repairs.
-
Roofing and Flashing Repairs: Inspect shingles, valley flashings, vent boots, and gutters. Replace damaged materials immediately to prevent water from penetrating your newly insulated attic space.
Phase 3: Curb Appeal & Primary Access Points
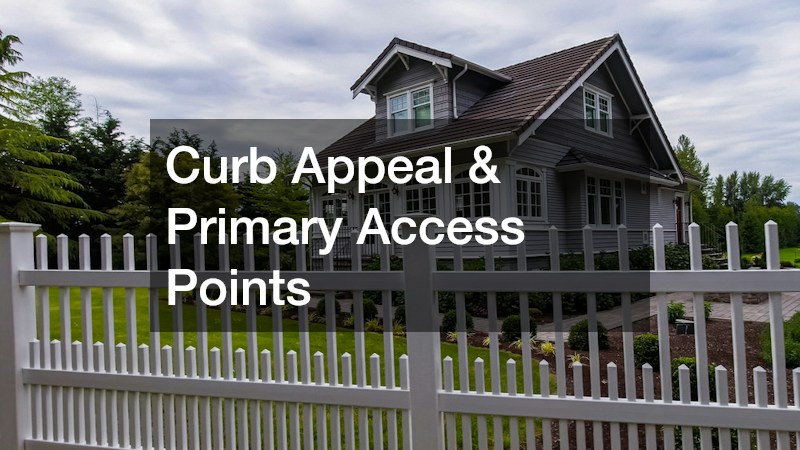
With a clean, dry, and thermally sound envelope established, focus shifts toward replacing worn, insecure, or dysfunctional exterior access points. Your primary entryways serve as the visual focal points of the house while acting as the first line of defense against intruders and thermal loss.
Upgrade Architectural Entryways and Vehicular Access
Upgrading your home’s main entrances delivers one of the highest returns on investment of any remodeling project, instantly modernizing the property’s facade and improving everyday operational convenience.
-
Redesigning the Main Entrance: The front entrance establishes the visual personality of the home. Outdated, hollow, or rotted doors allow cold air into the foyer while projecting an uninviting, neglected appearance.
-
Installing Architectural Entry Systems: Elevate your home’s facade by hanging a heavy, energy-efficient custom door crafted from solid wood, insulated steel, or fiberglass. A tailor-made entryway incorporates high-security locking hardware, custom glass sidelights, and weather-tight thresholds that transform your curb appeal.
-
Assessing Vehicular Access Points: Old, uninsulated overhead doors are frequent points of structural failure. Worn tracks, sagging panels, and noisy chain-driven mechanisms compromise home security and permit cold air to flood adjacent living spaces.
-
Upgrading Overhead Door Systems: Replacing worn vehicular access points restores security and daily convenience. Installing modern insulated garage doors equipped with quiet belt-driven openers, safety sensors, and decorative hardware dramatically improves architectural symmetry while stabilizing temperatures in attached garages.
-
Window Replacement: Check window frames for rot, broken thermal seals, and smooth operation. Replacing drafty single-pane windows with double- or triple-pane low-E glass options secures your home and complements your new entryways.
Phase 4: Driveway, Pathways & Energy Generation
As the building envelope and primary architectural focal points are secured, attention turns to the surrounding property infrastructure. Upgrading hardscapes and integrating modern energy systems increases property accessibility, functionality, and long-term financial efficiency.
Modernize Ground Transit and On-Site Power Systems
Fixer-upper properties often suffer from severely damaged driveways, broken walkways, and outdated electrical connections that struggle to meet modern household power demands.
-
Evaluating Site Hardscapes: Inspect asphalt driveways, concrete walkways, and entry steps. Severe cracking, frost-heaving, and improper grading direct rainwater toward your foundation walls rather than away from the house.
-
Executing Heavy Hardscape Repairs: Smooth, properly pitched driveways prevent vehicle damage and ensure correct stormwater drainage. Hiring reputable paving companies allows you to re-grade, pave, and seal high-traffic driveways and walkways, creating durable, attractive surfaces that withstand heavy vehicle loads and winter freeze cycles.
-
Analyzing Solar Potential and Electrical Load: Evaluate your roof’s orientation, shading, structural capacity, and electrical panel amperage. Modern homes require substantial power for climate control, modern appliances, and electric vehicle charging.
-
Integrating Renewable Energy Systems: Generating your own electricity offers long-term protection against rising utility rates. Partnering with certified solar services to install rooftop photovoltaic panels allows you to generate clean energy on-site, reduce monthly operating costs, and take advantage of valuable federal and local energy tax credits.
-
Exterior Drainage Integration: Ensure downspouts discharge water at least six feet away from foundational walls. Connect perimeter drains to dedicated runoff basins to prevent localized flooding across your newly paved surfaces.
Phase 5: Outdoor Living & Backyard Entertainment
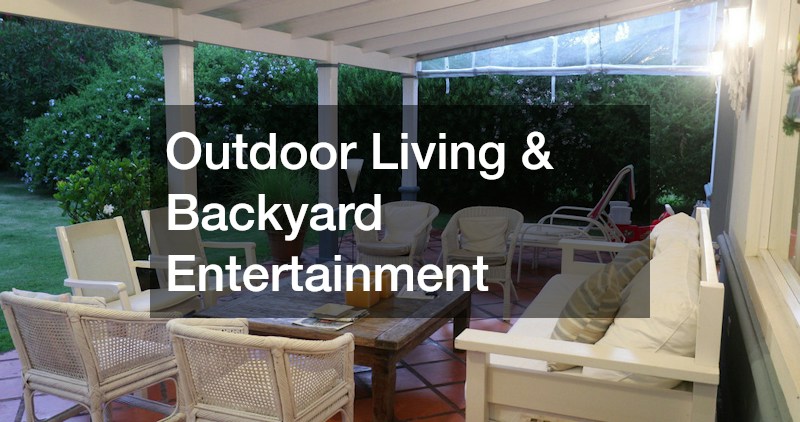
The final major renovation phase connects your interior living spaces with the surrounding yard, turning underutilized outdoor areas into functional, highly attractive living zones for relaxation, dining, and recreation.
Build Functional Outdoor Recreation and Lounging Spaces
A thoughtfully designed backyard extends your usable square footage, offering dedicated areas for outdoor dining, hosting guests, and family recreation without the cost of constructing permanent indoor additions.
-
Designing Elevated Lounging Platforms: Creating a seamless transition between your indoor kitchen or living room and your backyard requires a sturdy, well-engineered outdoor structure capable of supporting heavy outdoor furniture and foot traffic.
-
Constructing Outdoor Structures: Elevating your outdoor entertainment space adds immense functional square footage and resale value. Contracting qualified deck builders to frame and construct multi-level composite or pressure-treated wood platforms provides dedicated space for grilling, dining, and outdoor lounging.
-
Evaluating Recreational Water Features: Homeowners seeking backyard recreation often desire pool features, but excavating in-ground options can be prohibitively expensive, time-consuming, and site-destructive.
-
Installing Cost-Effective Pools: Adding water recreation does not require massive excavation budgets. Installing high-quality above ground pools on level, properly prepped ground surrounded by custom decking creates an inviting summer retreat at a fraction of the cost and timeline of traditional in-ground alternatives.
-
Landscaping and Lighting Finishes: Complete your outdoor transformation by adding native plants, mulched garden beds, low-voltage LED pathway lighting, and privacy fencing to frame your new outdoor living amenities.
Comprehensive Master Renovation Checklist
Use this quick-reference master checklist to track your progress through every major milestone of your fixer-upper project.
Phase 1: Purchase, Permits & Safety
-
Finalize home purchase and secure all required municipal renovation permits.
-
Complete environmental hazard testing for lead, asbestos, and radon.
-
Hire certified specialists to execute all necessary hazardous material abatement.
-
Schedule professional arborists to prune hazardous branches and clear perimeter trees.
-
Conduct structural foundation inspection and repair active perimeter drainage issues.
Phase 2: Building Envelope & Utilities
-
Inspect roof shingles, flashing, gutters, and downspouts; complete necessary repairs.
-
Upgrade attic and wall insulation using spray foam or blown cellulose.
-
Power wash exterior siding, brickwork, and stone veneer.
-
Upgrade electrical service panel to accommodate modern electrical loads.
-
Inspect and update rough plumbing, supply lines, and waste stacks.
Phase 3: Doors, Windows & Exterior Openings
-
Order and install a high-efficiency custom entry door system.
-
Replace drafty or damaged windows with energy-efficient multi-pane units.
-
Install insulated overhead garage doors with modern smart openers.
-
Replace worn weather stripping and seal exterior penetrations with exterior-grade caulk.
-
Repair or replace exterior trim work around all door and window casings.
Phase 4: Hardscaping, Driveways & Power
-
Re-grade property perimeter to ensure water pitches away from foundation walls.
-
Contract paving professionals to resurface or replace cracked driveways and pathways.
-
Install rooftop solar panels and connect inverter systems to your electrical panel.
-
Add low-voltage landscape lighting along walkways and main access driveways.
-
Install outdoor electrical outlets and frost-free hose bibs.
Phase 5: Outdoor Living & Backyard Finishes
-
Design and build elevated composite or wood deck platforms.
-
Level ground, lay protective base, and install recreational pool features.
-
Construct safety railings, steps, and perimeter gates for outdoor decking.
-
Install privacy fencing, garden beds, sod, and native decorative plants.
-
Complete final interior cosmetic finishes, paint, flooring, and fixture installations.
Smart Financial & Project Management Strategies

Beyond technical construction sequencing, managing the financial and administrative aspects of a fixer-upper renovation determines whether your project stays on budget or runs into costly delays.
Establish a Strict Contingency Fund
No matter how thorough your pre-purchase inspection is, opening up walls in an older house will uncover surprises—whether it is outdated knob-and-tube wiring, hidden plumbing leaks, or undersized floor joists. Set aside a cash contingency fund of at least 15% to 20% of your total renovation budget specifically reserved for unexpected structural or mechanical issues.
Vet Contractors Thoroughly
Before signing contracts or handing over deposits, verify that every contractor working on your property carries active general liability insurance and workers’ compensation coverage. Ask for references from recent local projects, verify trade licenses with your local building department, and establish a clear payment schedule tied directly to completed, inspected work milestones rather than calendar dates.
Sequence Trades Logic
One of the most common mistakes DIY renovators make is executing trade work out of order. Always complete structural repairs, heavy exterior site work, electrical rough-ins, plumbing updates, and building insulation before hanging drywall or laying expensive hardwood flooring. Protecting finished interior materials from dust, moisture, and trade traffic saves time and eliminates costly rework.
Buying and renovating a fixer-upper is a major endeavor that requires a balanced blend of vision, patience, financial discipline, and technical execution. By prioritizing your project in logical phases—starting with environmental safety and envelope weatherproofing before moving on to curb appeal, site infrastructure, energy systems, and outdoor living—you safeguard both your physical structure and your financial investment.
When you approach a major overhaul with a methodical plan, you eliminate the stress of unexpected surprises and turn a distressed house into an exceptionally comfortable, valuable, and efficient home. Print this checklist, refine your budget, partner with skilled local professionals, and execute your renovation steps with confidence.